- Published on
- Exercise 1
Understanding our hackathon environment
- Authors
- Name
Welcome to the OpenShift 4 security hackathon! Here you'll be able to practice your prowess operating a secure and compliant OpenShift 4 cluster. Exercises will award points for each correct solution.
You're in a race to reach the highest score before the session concludes! If multiple teams complete all exercises so share points totals a further ranking will be done by elapsed time based on when slack messages are sent.
Let's get started!
1.1 - The hackathon scenario
We're returning to ACME Financial Services, a large bank based in Australia. Thanks to the efforts of the local account team after a long procurement journey Red Hat has landed a massive $5m AUD deal including a significant portion of Red Hat Services 🚀.
Your hackathon team are the post-sales consultants engaging with ACME to improve their OpenShift platform security hardening. The bank have been running OpenShift for a while but the account team have said "they are basically YOLO'ing it" from a security perspective. Thankfully you're on site now to help iron things out!

1.2 - Understanding the environment
For this challenge you'll be given access to the ACME Financial Services OpenShift 4.17 cluster which is not currently operating in a secure and compliant manner. All challenge tasks must be performed on this cluster so your solutions can be graded successfully.
You can and are encouraged to use any supporting documentation or other resources in order to tackle each of the challenge tasks.
| |
|:-----------------------------------------------------------------------------:|
| OpenShift cluster console |
|
|:-----------------------------------------------------------------------------:|
| OpenShift cluster console |
1.2 - Obtain your environment
Working in a small team you will have one shared cluster for team members to share. Your team will have a name allocated already.
To get underway open your web browser and navigate to this link to allocate an environment for your team https://catalog.demo.redhat.com/workshop/w949gy.
Register for an environment using the team email address and password provided by your hackathon organisers. Registering with a team email will mean all your team members will be able to see the same cluster details for your shared team cluster.
|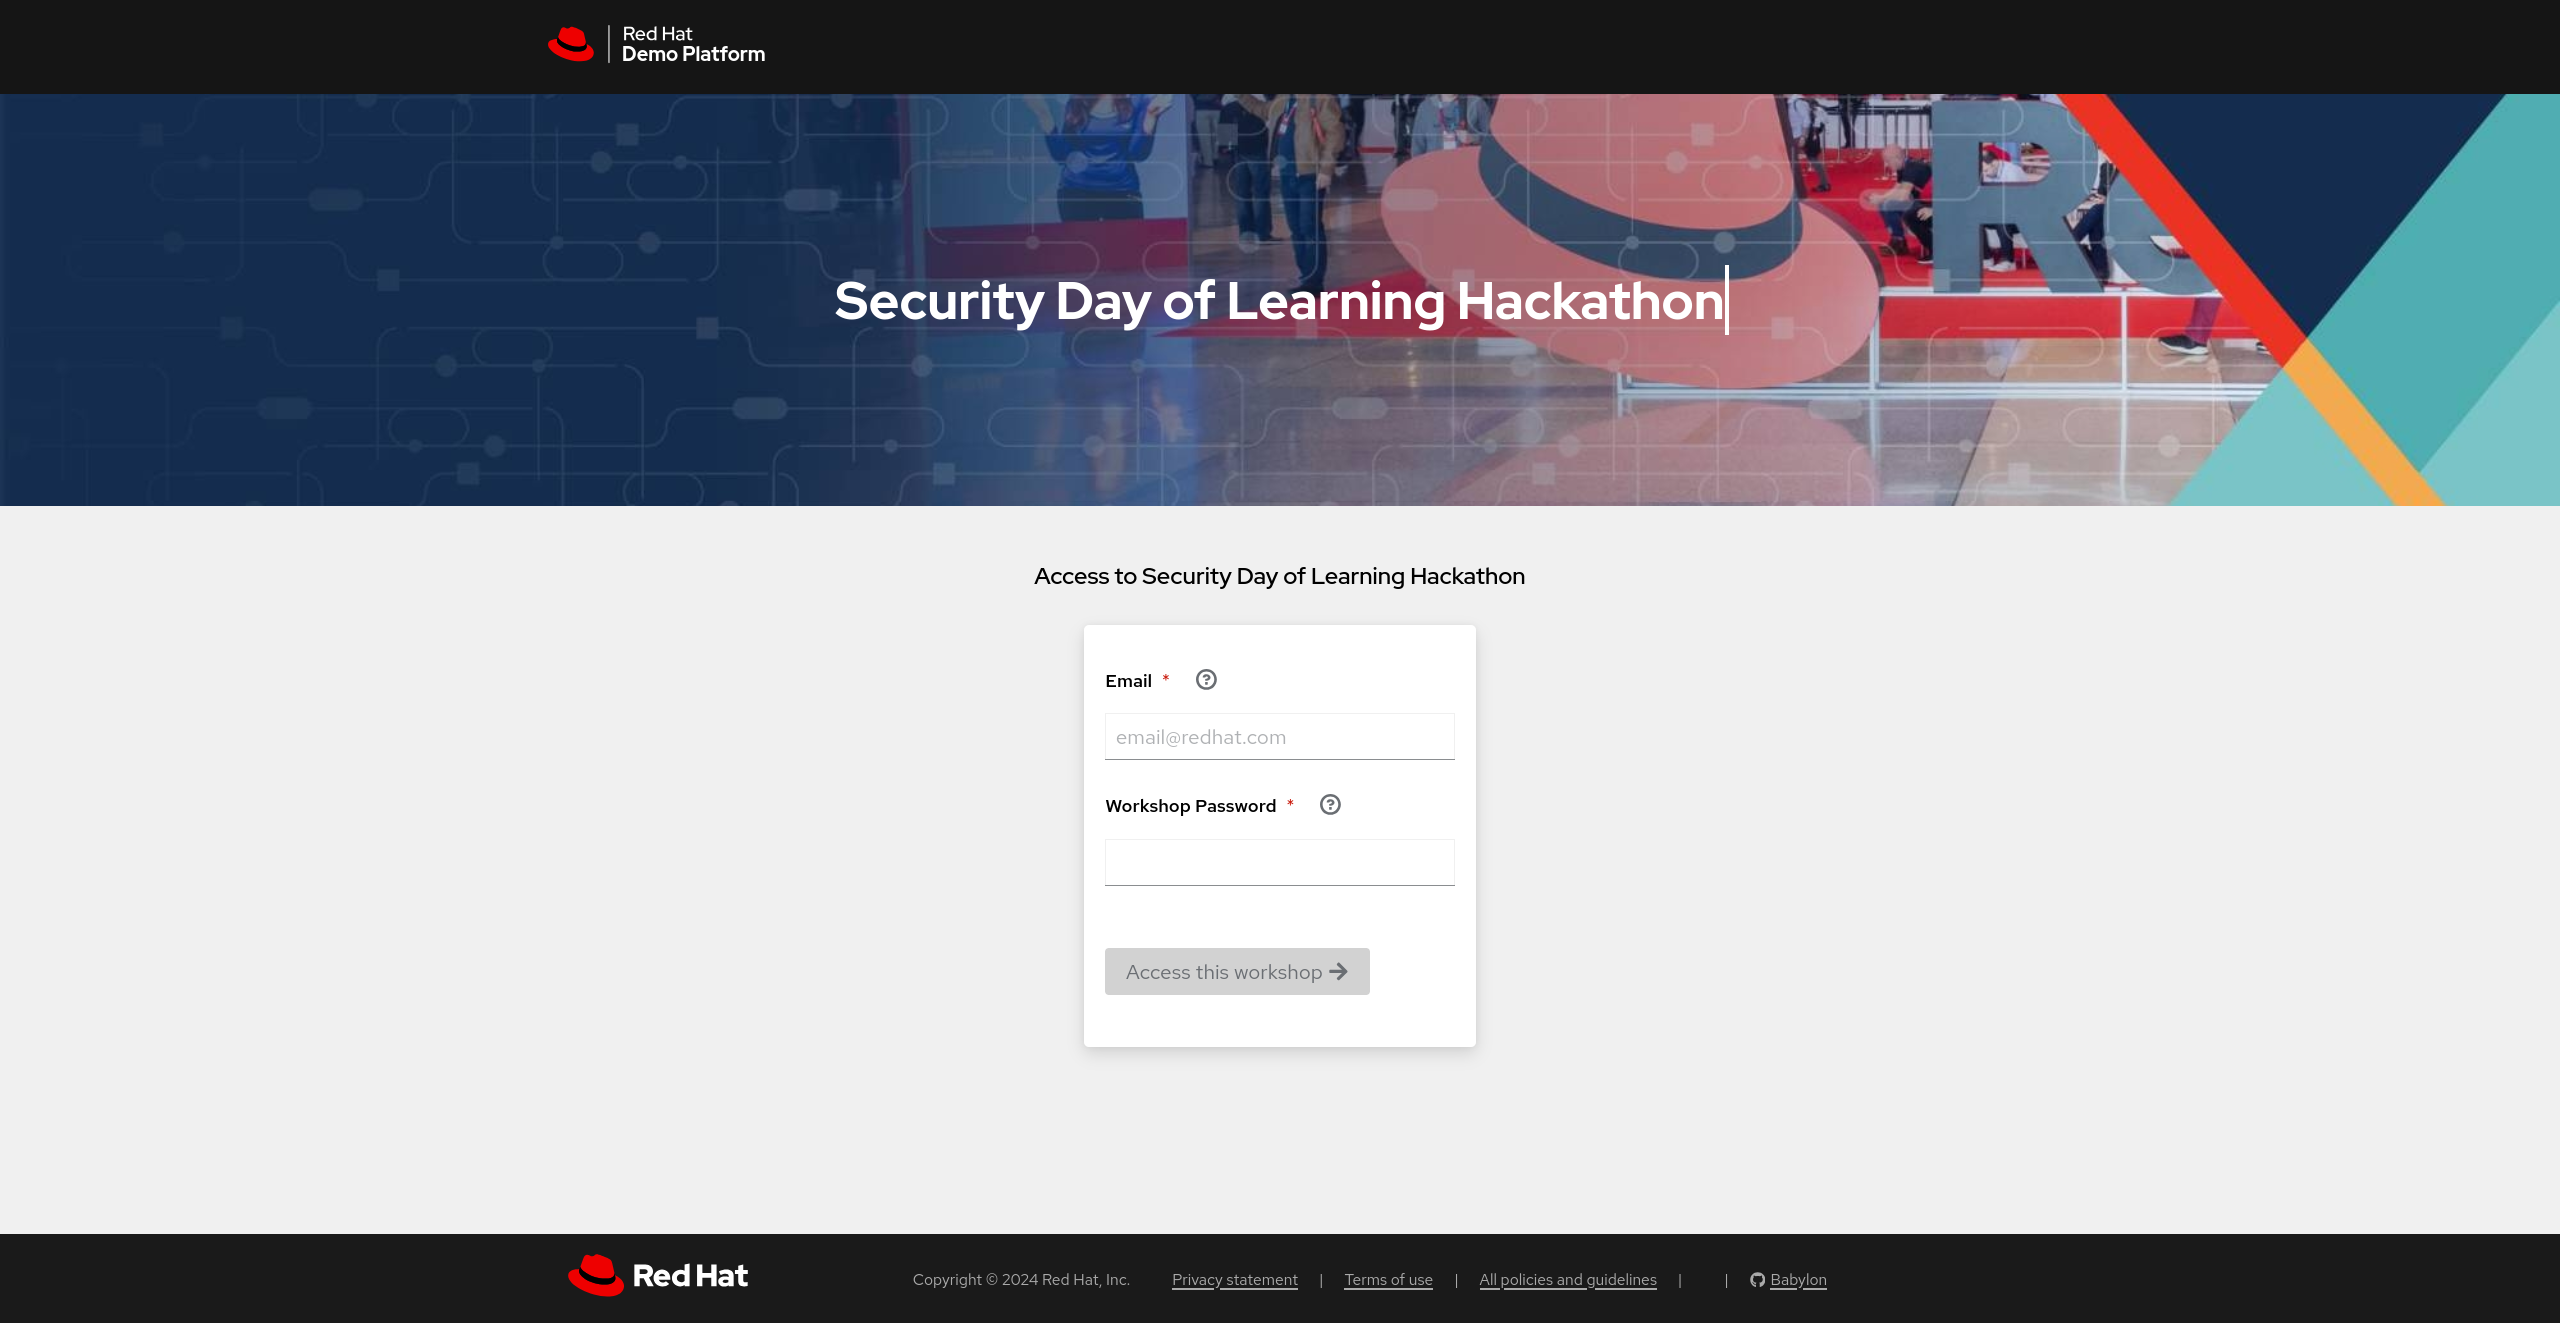 |
|:-----------------------------------------------------------------------------:|
| Hackathon team registration page |
|
|:-----------------------------------------------------------------------------:|
| Hackathon team registration page |
1.4 - Confirm environment access
If your team have secured an environment and are ready to start the challenge please post in #event-anz-ocp-security-hackathon with the message:
[team name] have logged into an environment and are starting the challenge!
The event team will reply in slack to confirm your team has been recorded and start you with a base score of 10 points.
1.5 - Hints!
If you get stuck on a question, fear not, perhaps try a different approach. If you have tried everything you can think of and are still stuck you can unlock a hint for 5 points by posting a message in the #event-anz-ocp-security-hackathon channel with the message:
[team name] are stuck on [exercise] and are unlocking a hint.
A hackathon organiser will join your breakout room to share the hint with you 🤫.